
photo Redhead-SaysNAV-HOME.png photo Redhead-SaysNAV-ABOUT.png photo Redhead-SaysNAV-CONTACT.png
Showing posts with label dessert. Show all posts

Friday, April 29, 2022

STRAWBERRY MOUSSE


A smooth, airy mousse filled with fresh strawberries and cream! This easy
strawberry mousse is an elegant 4- ingredient dessert perfect 
for any occasion. Just Delicious!


Chop up 24 oz of fresh strawberries into small pieces. 

Put aside another 12 oz of strawberries for garnish later.


Toss the first 24 oz of strawberries into a large sauce pan

 
Pour in 1/2 cup of sugar and 1/4 cup of water to the pot. Set the pot on the stove at
medium heat and cook till berries soften and begin to break down.


While the berries are cooking grab two packets of unflavored gelatin.


Add the gelatin to 4 oz of cold water.


The gelatin should set up like this after a few stirs.


Add the gelatin to the pot and bring to a boil. Boil for 1 minute, stirring constantly.
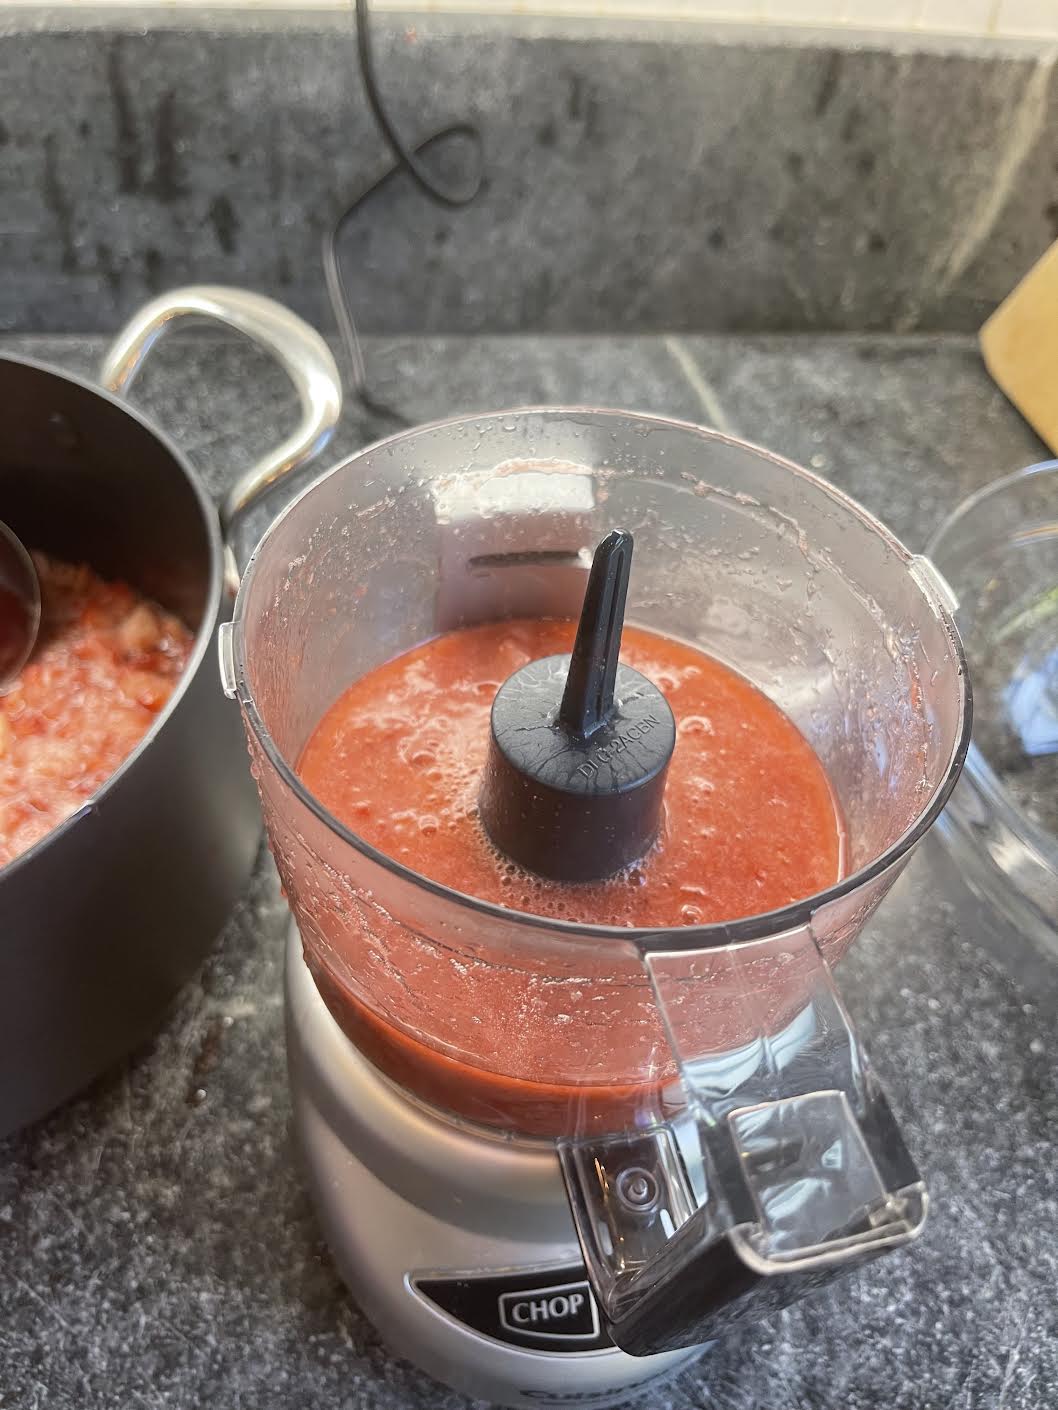

Puree the strawberries in a blender


Let the strawberries cool completely then pop into the fridge to get a good chill on them.


In a large bowl pour in 3 cups of heavy cream.


With a hand mixer whip the cream into stiff peaks.


Grab the strawberries from the refrigerator.


Carefully fold in the cream.


YUM...


Grab some cute serving bowls.


Cover the bottom of the bowls with some of the second batch of chopped strawberries.


Next add a layer of the mousse and then more strawberries.
Fill the bowls up in layers.


How lovely does this look?


Garnish with some mint and pop them into the refrigerator for a few hours to chill.


I brought these delicious Strawberry Mousse cups to a friends 
for his dinner party and they travel well :)

I only needed 5 bowls of this mousse so I had a 
plan on how to use the leftovers.


I poured all the mousse into a meatloaf pan and froze it over night.


Ta Dah...

Frozen Strawberry Mousse :)


Should I serve it with a folk or spoon?

Both!
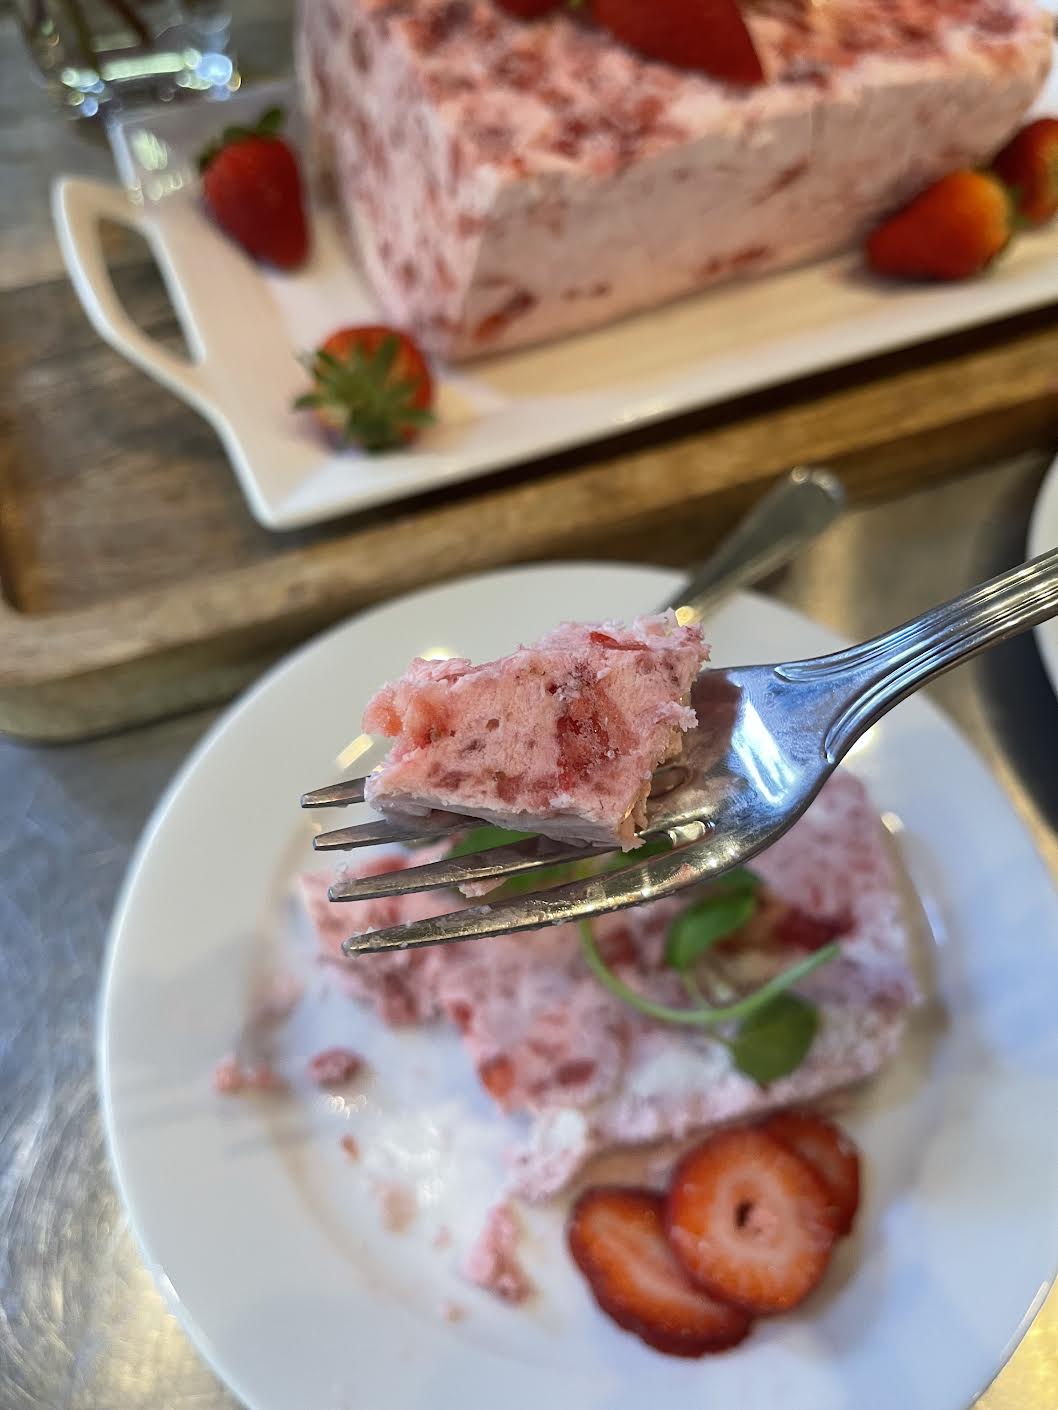

Please have a bite because it's so sweet, creamy and so refreshing.

Enjoy!

Monday, November 15, 2021

PUMPKIN CHEESECAKE


We were headed to a dinner party and I was in charge of the dessert!

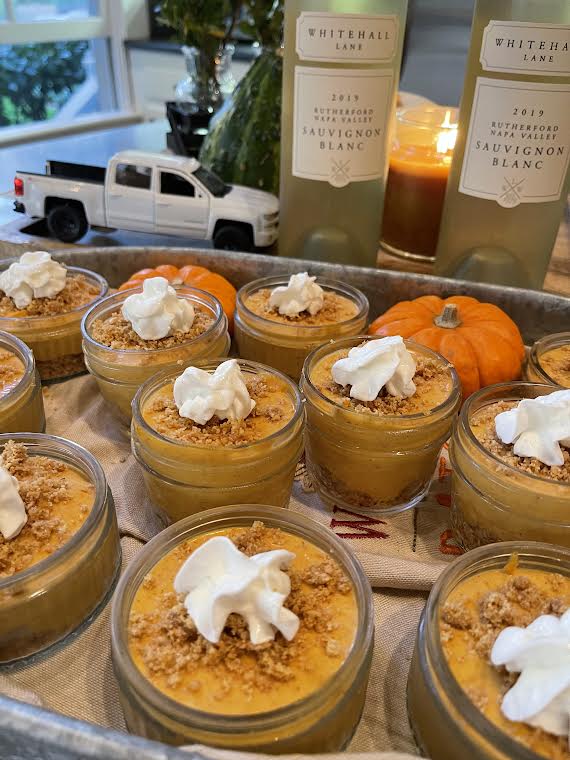
Mini Pumpkin Cheesecakes Will Travel :)

My No-Bake Mini Pumpkin Cheesecakes are quick and super-easy to make, and the
creamy sweet and spicy filling will satisfy any pumpkin cravings you might have.

It's luscious flavor spread over buttery Graham cracker crumbs :)


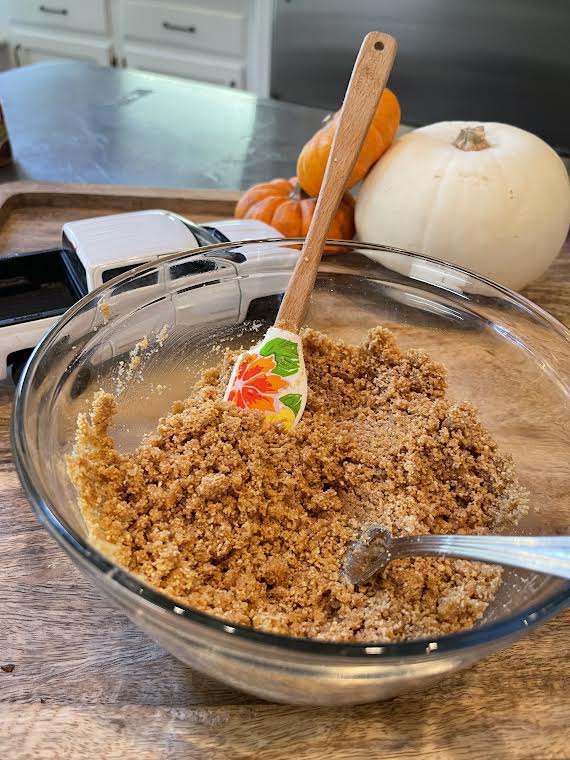
Start by making the bottom (crust) layer. Blend 1 1/2 cups of Graham crackers into crumbs.


Pour in 6 tbsp of melted butter to the crumbs.


Give the bowl a good mix and set it aside.


To make the Pumpkin Cheesecake layer...

Beat two 8oz blocks of cream cheese until smooth.


Grab a 32oz can of Pumpkin Pie Filling.


Tumble in the pumpkin and with the beater give the bowl a mix.


Perfect.


Next, add in 6 tbsp of brown sugar and 2 tsp vanilla and mix again.


Sprinkle in 1 tsp of cinnamon and mix again.


Squirt of whipping cream for more yum!


Pumpkin Cheesecake Filling done :)


Grab some cute mini jars. I needed 10.


Fill the jars with the Graham Cracker crumbs evenly on the bottom of the jars.


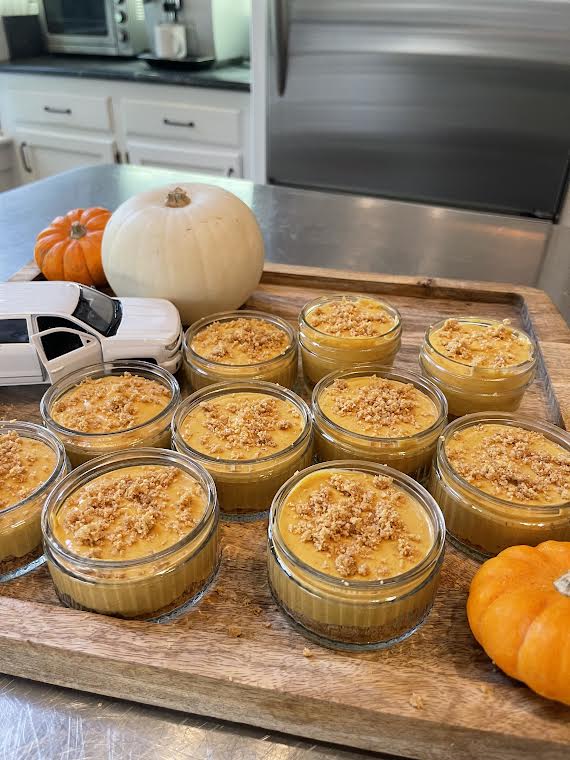
Grab a ladle and fill the cute jars up with the yummy pumpkin mixture.


Last one filled :)


Sprinkle with a bit of the Graham Cracker crumbs over the top.
Set them in the refrigerator till you are ready to leave.


Accessorize the Mini Cheesecakes with some whipped cream on top.


Off to our dinner party with wine to share!

Enjoy!

P.S.

These would be delicious with ice cream too.


Thursday, September 23, 2021

PUMPKIN MAGIC BARS


It's Fall Y'all ...

 Pumpkin Magic Bars are so easy to make and they are absolutely crazy Delicious!

Magic Bars are also called 7 Layer Bars which is a throw back recipe
  and one of my favorite things to do is change them up to 
fit my mood :)

Why Are They Called Magic?

When these cookies bars are baked in the oven the chocolate chips get soft and the
sweetened condensed milk melts in all the nooks and crannies. As they
cool, they harden and become a hand-held cookie bar!


Time to make some "Fall Magic"


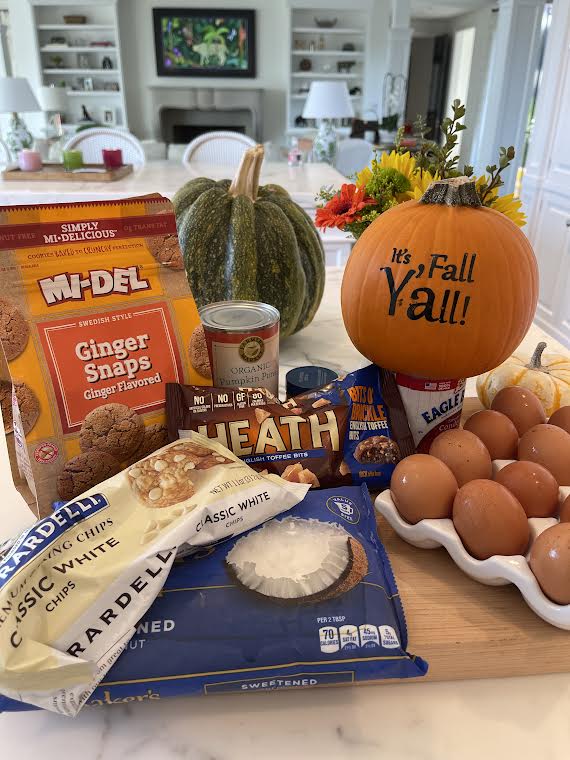
Grab a bag of Gingersnaps and grind about 25 cookies in a food processor.


Tumble in 2 tablespoons of sugar to the Gingersnaps.


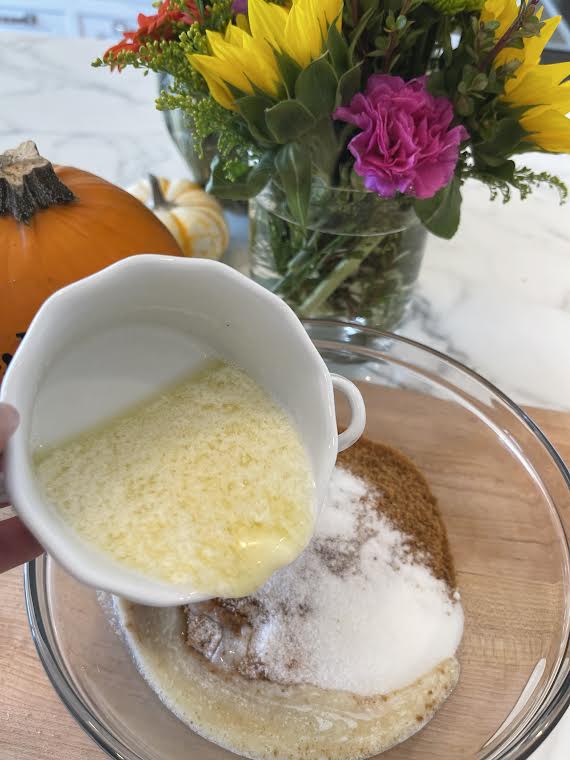
Pour in 5 tablespoons of melted unsalted butter.


Yum in a bowl :)


With a fork give it a good mix.


Have a little taste because it's de-lish !


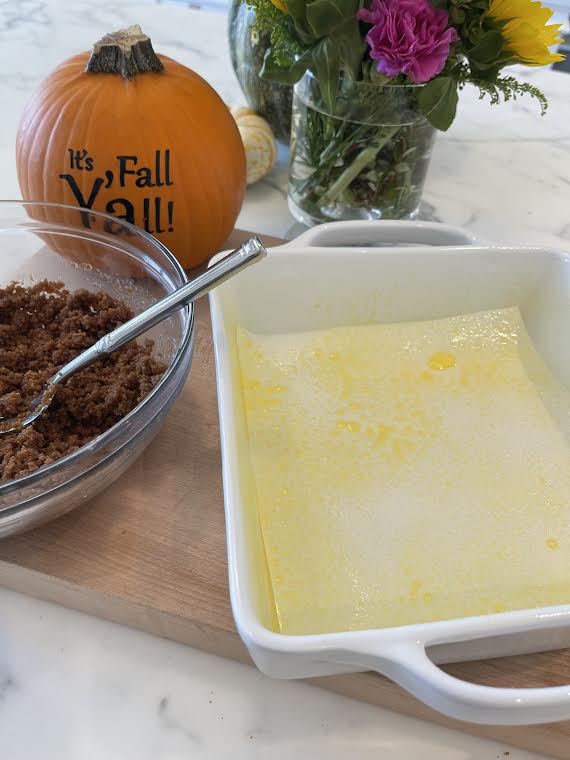
Line a 9 by 9 inch pan with parchment paper and spray with cooking spray.


Toss in the cookie mixture and evenly press with a spoon to make a crust.


Perfection :)


Let The Layers Begin!

Sprinkle 1 cup of white chocolate chips over the crust.


Sprinkle in 1/2 cup of chopped pecans.


Sprinkle in 1/4 cup of sweetened coconut.


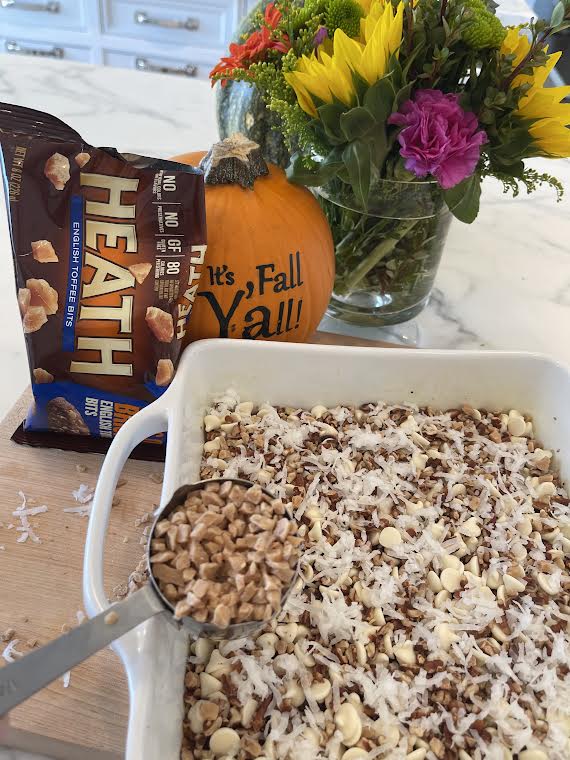
Sprinkle in 1/4 cup of chopped Heath bars.


This Screams Fall....

In a small bowl add 1/4 cup of pumpkin puree.


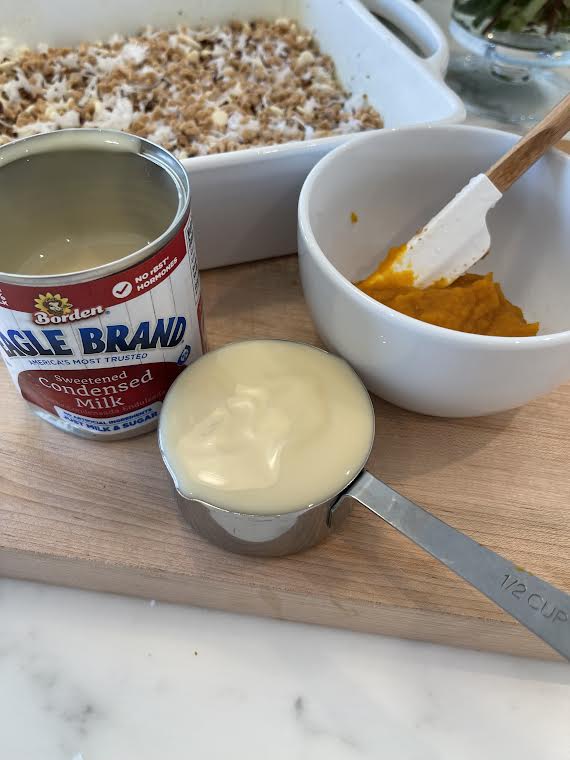
Measure out 1/2 cup of Eagle Brand Sweetened Condensed Milk.


Oh yes pour it on in....Yummo!


Give the bowl a good mix.


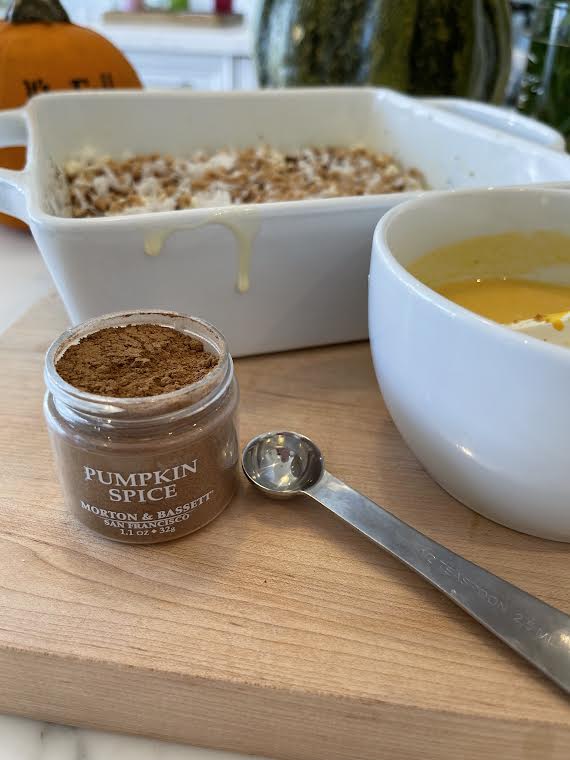
You know it's fall when you are baking with this spice!


Drop in 1/2 teaspoon of Pumpkin Pie spice and give the bowl a stir.


Have a little taste of Fall here because you will love it :)


Gently pour the pumpkin mixture all over the top.


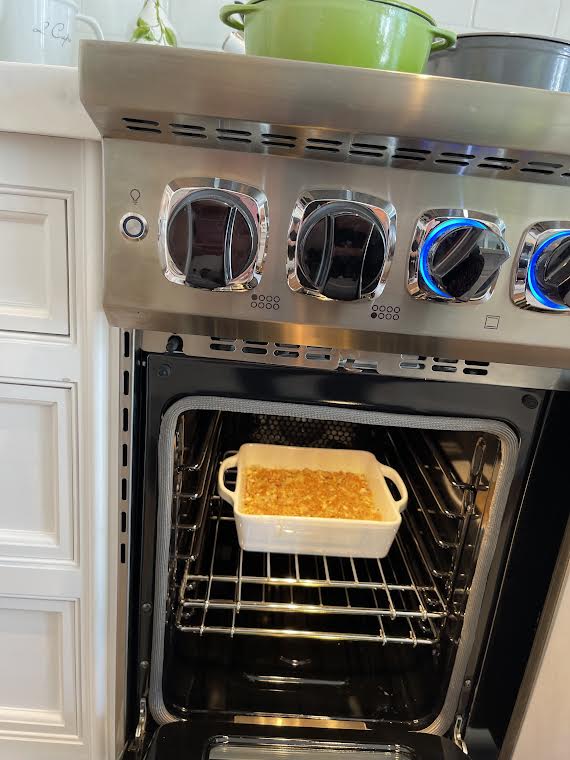
 Bake in a 350 degree oven for about 28-34 minutes.


Get your timer set :)


My goodness I wish you could smell my oven now!


Cool completely before cutting.


You may want to chill the bars before slicing if they seem gooey.


Time to slice.


These were so easy to make, not too gooey and they're magic bars that
don't crumble...basically the perfect fall treat :)


Grab A Pumpkin Magic Bar !

Enjoy!

P.S.


It's Fall Y'all....


design + development by kelly christine studio