


With wine becoming easier and easier to fine in cans, this recipe is a no-brainer.
This is The Beer Can Chicken's fancier cousin, Wine Can Chicken.
Beer Can Chicken is something I've been making for years, and with very little
effort it always seems to come out perfect.
But this time I wanted to try something different and used wine instead of beer
and replaced the dry rub with an herb mixture, garlic, lemon
and a drizzle of olive oil.

First of all select your wine :)

My choice is this Riesling.

Grab you chicken and pat it dry.
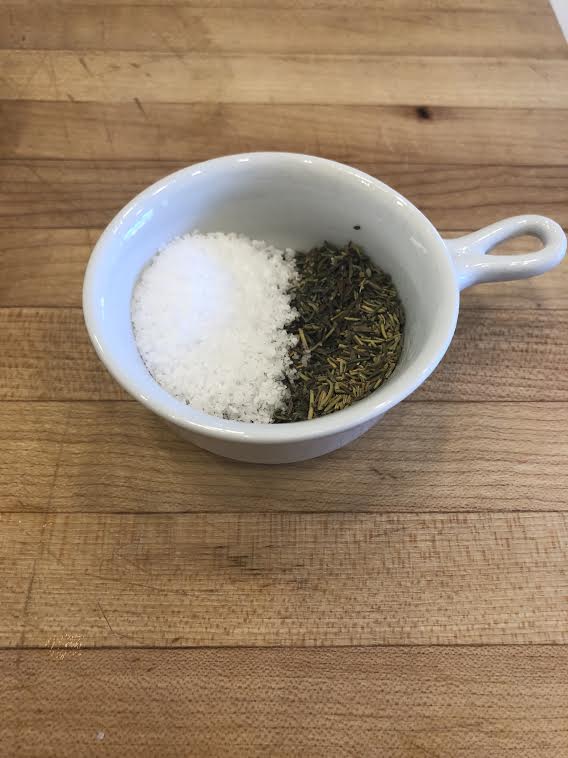
Mix together some thyme, rosemary, salt and pepper.

Yes garlic.

Give the chicken a good rub down with all the herbs.

Drink or discard half of the wine.

I say drink while you cook...

Place the can of wine in a beer can chicken holder that
you can find in many stores or on line.

Lower the chicken over over the can until can is inside the body cavity,
this will insure that all the wine will be infuses through the bird.
Throw a few garlic cloves and lemon slices into the cavity. To
make sure steam doesn't escape just place a lemon
wedge on the top where the neck is.
You can fill the base of the pan with just about any vegetable you love.
Drizzle the chicken and potatoes all over with olive oil. Now off to the
oven in a 375 degree oven for about 1 1/2 hours to reach
internal temperature of 180.

Depending on the size of your chicken times may vary.

This just smells and looks Amazing!
Make sure you let your chicken rest for 10-15 minutes before cutting.

Just slip the chicken off the can and save those
dripping to pour over your sliced chicken.
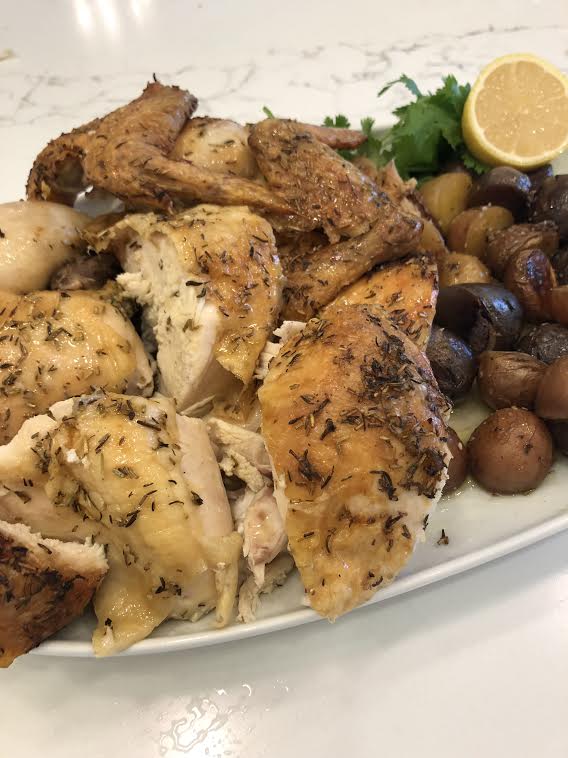
The result using wine instead of beer was fantastic, the herbs infused the
chicken with so much flavor, the wine made the meat so
tender and moist and skin super crunchy.
A Win Win Situation
or a
Wine Wine Situation!
Enjoy!
P.S.

My inspiration for my
Wine Can Chicken!


No comments
Post a Comment